Materials
- Ball of string (different colours if you have)
- Screw in cup hook (or clip carabiner)
- Pencil or Pencil for winding.
Method
1. Attach hook/carabiner so it’s secure to fence or tree etc. (Image 1)
2. Cut string about 4m long (2m each colour if you have) and bring the 2 ends/tails together and tie in an overhand knot. You should now have a large circle of string. (Image 2)
3. Hook the circle into the hook/carabiner. Step backwards until the string is taught. (Image 1)


4. Insert pen/pencil into the loop where you are holding. (Image 3 & 4)
5. Keeping the string tight in one hand, use the other hand to twist the pencil clockwise. (Image 5)
6. You will notice the string starting to twist together. DON’T LET THE STRING GO SLACK! (Image 6)


7. Keep winding, when the string feels very twisted you can test to see that it is tight enough by carefully reducing the tension. If it looks like it’d going to for a little knot on it’s own, it’s ready! If not wind some more and repeat as above.Go up to the half way mark with one hand, keep your string nice and tight. Hook the pencil end around the hook which divides the length of string into 2. Pull back with the pencil hand which will pull the other hand forward and you should now have 3 pieces all the same length. Watch the short video on folding the rope and ‘untwisting’.
8. KEEP THE STRING TIGHT. Turn the pencil anti-clockwise this time until tight again. Give a bit of a pull to ‘set the rope’.
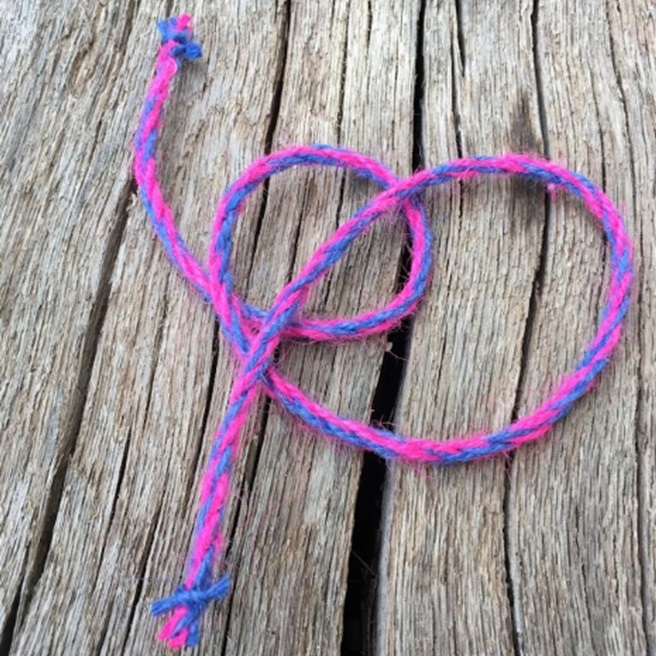
9. Take 2 small pieces of string and tie just above the pencil and just below the hook to secure. (Image 7)
10. Remove pencil and rope from the hook and cut the ends off. (Image 8)
Share your finished rope (or any funny mishaps) on social media using the hashtag #BlairEverywhere
Contributed by the Bushcraft team

